
This is a continuation of our deep dive into Omeka – see part one at Omeka for Vivellos.
Table of Contents
- Working in Batches
- Organizing Items: Collections and Tags
- Building Simple Pages
- Using Shortcodes
- Adjusting Site Settings
- Adding Users
- Resources (Again)
Working in Batches
Using a feature like the CSV Import plugin we installed last week, it is possible to work more efficiently with large batches of items within Omeka. Instead of uploading items individually, you can use a spreadsheet/CSV file to upload a large batch of information at once, by mapping spreadsheet fields to the relevant fields in Omeka.
Try it yourself!
Upload a batch of new items to your Omeka site, using the spreadsheet provided and the CSV Import Plugin which we installed together last week. Don’t forget to go to the Plugins page and install it if you have not done so yet – it will not appear in the left-hand back-end menu otherwise.
- Some plugins for Omeka and Omeka S, such as this CSV Import one, will require that you explicitly specify the background PHP path in order to work properly, as these plugins require PHP-CLI. Follow these instructions to do so from within your cPanel: https://peer-mentoring.vivero.sites.grinnell.edu/omeka-fixing-background-php-path/
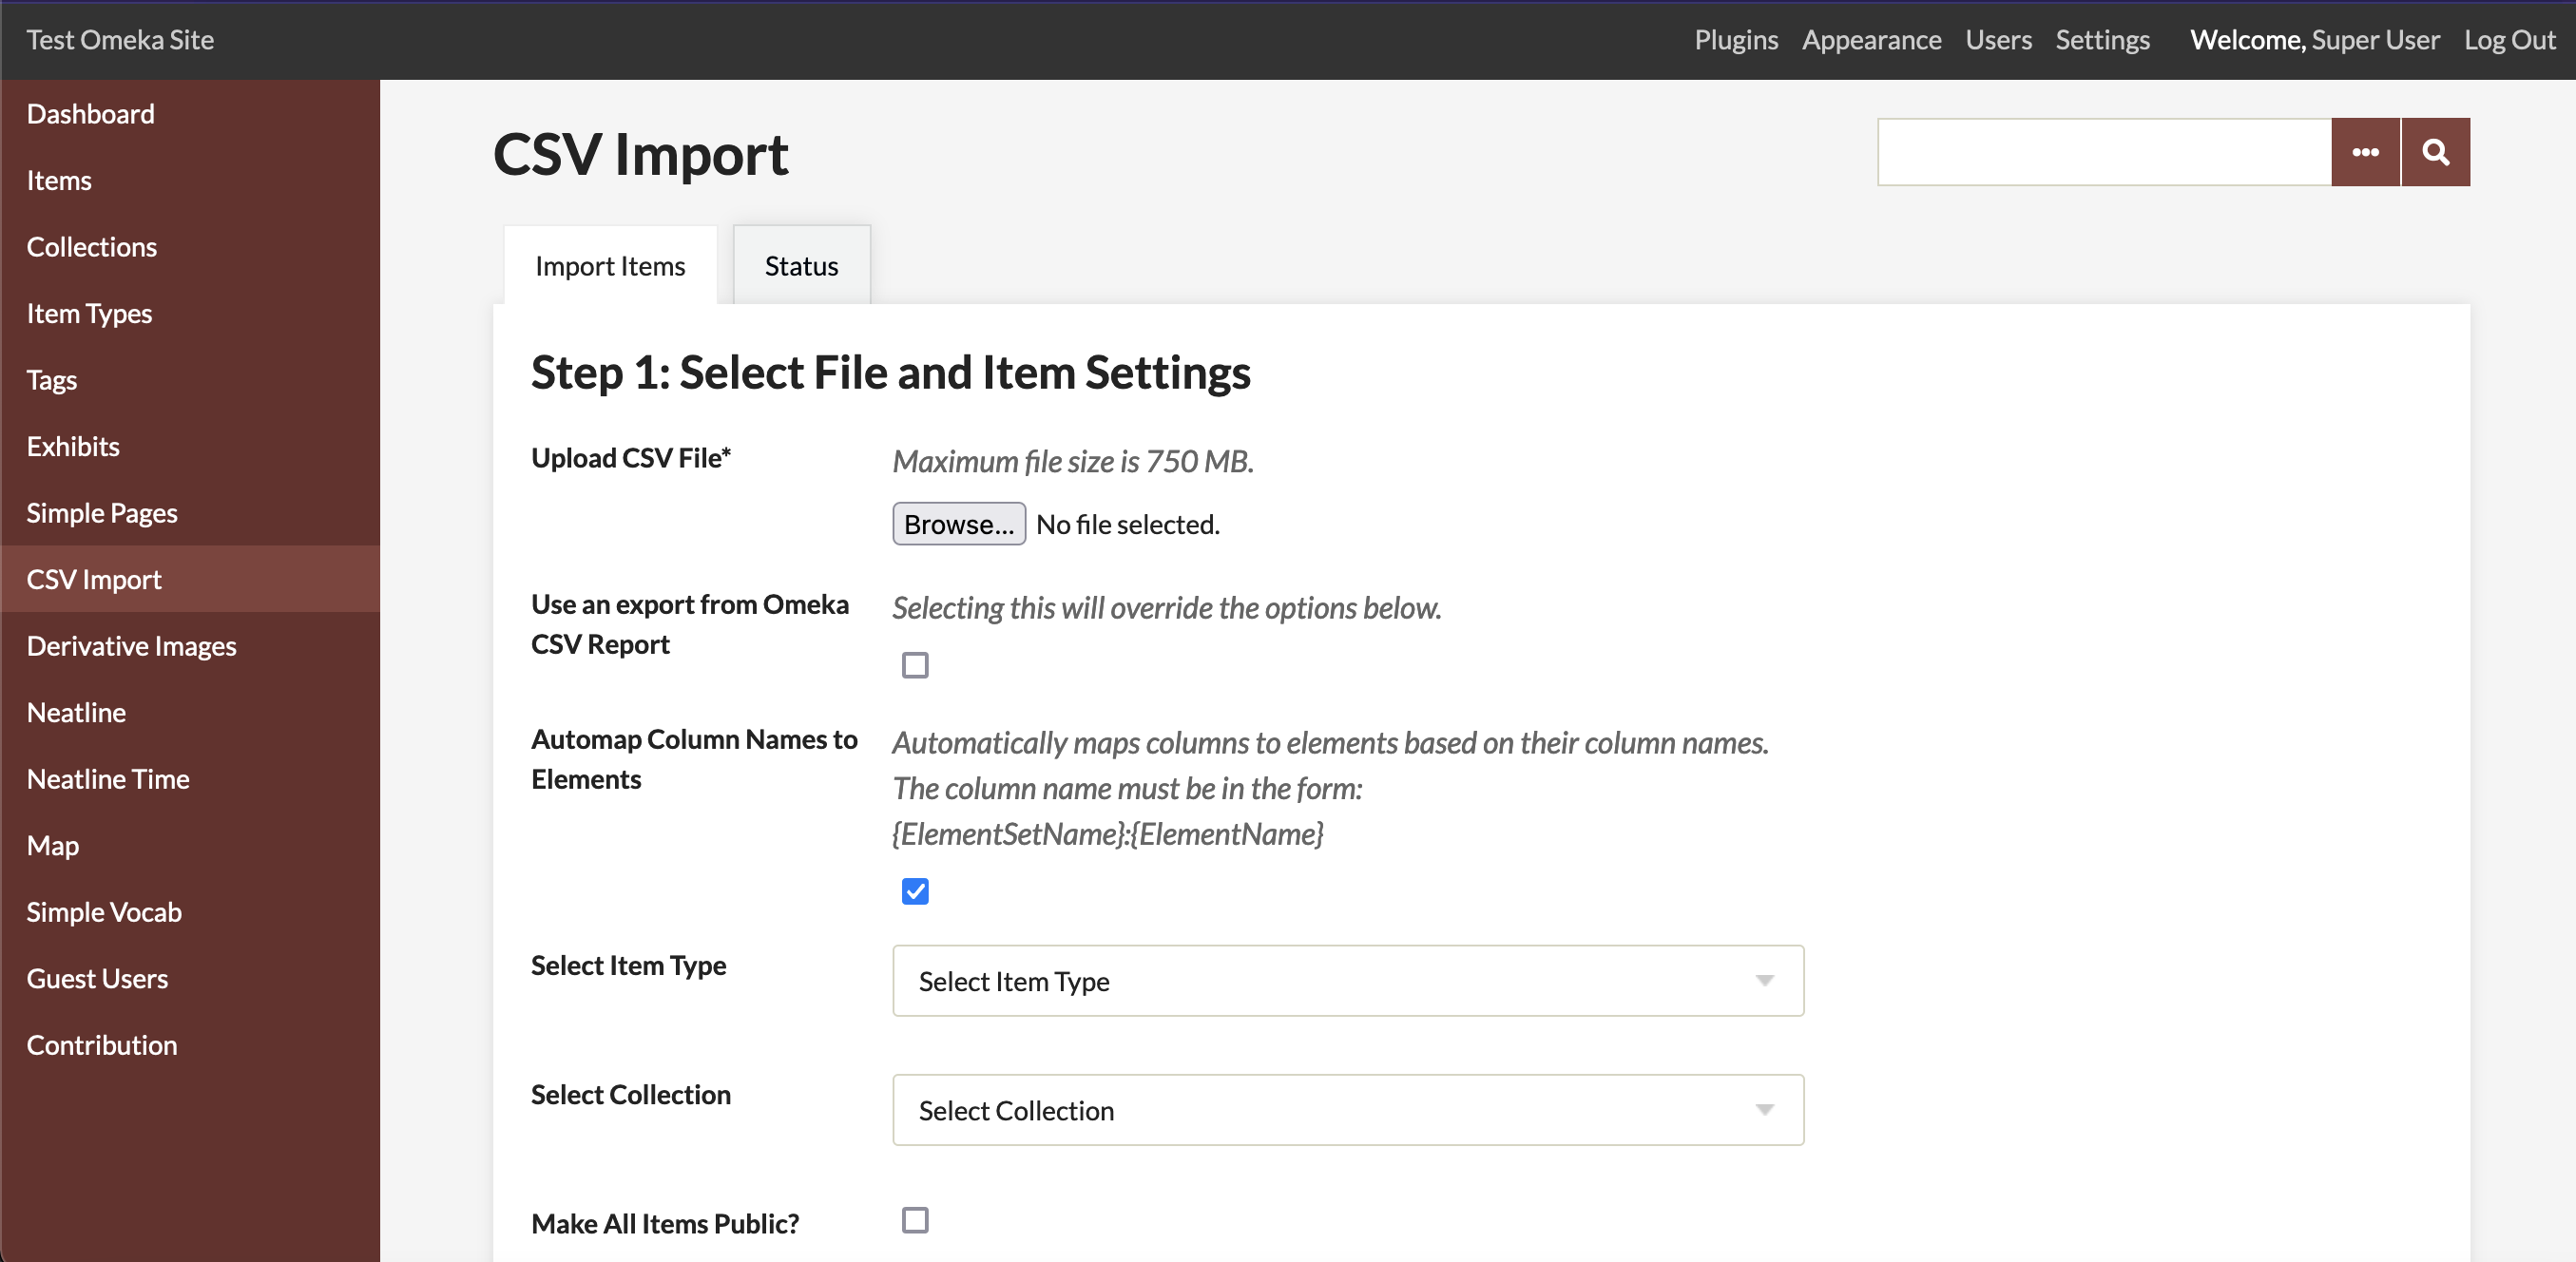
- Once ready, navigate to the CSV Import page on the back-end of your site.
- Upload the CSV file provided.
- Under Default Values, tick the Make All Items Public? box.
- No need to adjust any of the CSV delimiter settings, since we are not messing with the CSV formatting, but read through them to familiarize yourself with them.
- You can set “delimiters” to separate items within a cell as separate entries into the same item metadata field within Omeka (useful for an Item with multiple Creators, for example). Often, a pipe (“|”) is used as a delimiter.
- For an item entitled Good Omens, your spreadsheet Creator cell might look like “Terry Pratchett | Neil Gaiman” in order to be imported into Omeka as two entries for that field.
- Click the Next button.
- Map your columns to elements, tags, or files. Match the column header to the Dublin Core element that makes sense.
- We are not using files or tags for the purposes of this demo, but this would be done here as well.
- Click the Import CSV File button.
- From the Status page, you can see the status of your import: the date and time, the name of the file, and the number of items that have been imported (or not).
Organizing Items: Collections and Tags
What Is a Collection?
Items can be added to collections in order to group them in whatever way makes sense to you. Your Omeka site can contain one or more Collections. An Item can only belong to one Collection at a time.
Read more about Collections in the Omeka Classic User Manual.

What Are Tags?
Tags are keywords that you can associate with your items in order to label and group them. An Item can have as many Tags as you would like to give it.
Read more about Tags in the Omeka Classic User Manual.

Try it yourself!
- Create a new Collection from the Collections tab.
- Go back to one of the items that you have already created: click the Edit button and add it to your new Collection from the dropdown menu on the right.
- Add some tags to this item from the Tags tab (at the top of the item editing menu).
- Repeat for your other item(s).
Building Simple Pages
Simple Pages allow you to create a webpage of content for your Omeka site. A Simple Page is great for something like an About page, or any other kind of page showcasing static content.
Simple Pages is a plugin installed on all Sites @ Grinnell Omeka sites by default. When using it for the first time, go to the Plugins page (from the top-level admin menu) and activate it. Then follow these steps to build out a page:
- Give your page a title.
- Add a custom URL slug (comes after the domain name in the URL, such as omeka.sites.grinnell.edu/slug) if desired.
- Check the HTML editor box for HTML options, and start building out page content in the text field!
Try it yourself!
Create a new Simple Page and build it out as an About page for your Omeka site, with some information about yourself and the site you have created.
Using Shortcodes
Shortcodes are short lines of Omeka code that can be added into text fields to allow you to pull in one or more collections, exhibits items or their files into a Simple Page or an Exhibit Page, based on their unique ID numbers (assigned by Omeka when created).

Here are some examples:
- the shortcode
[items = collection 1]will pull all the items in your #1 collection as a list - the shortcode
[items num=1 tags=baseball sort=random]will pull a single random item from all your items that have the tag “baseball” - the shortcode
[file id=2 size=square_thumbnail link_file=fullsize]will pull a square thumbnail version of the file (not the item) with the ID #12, that links to the full size version of the file
Shortcodes have options which can modify the content that is returned. Read more about shortcodes and their customization options in Omeka’s user manual: https://omeka.org/classic/docs/Content/Shortcodes/.
Try it yourself!
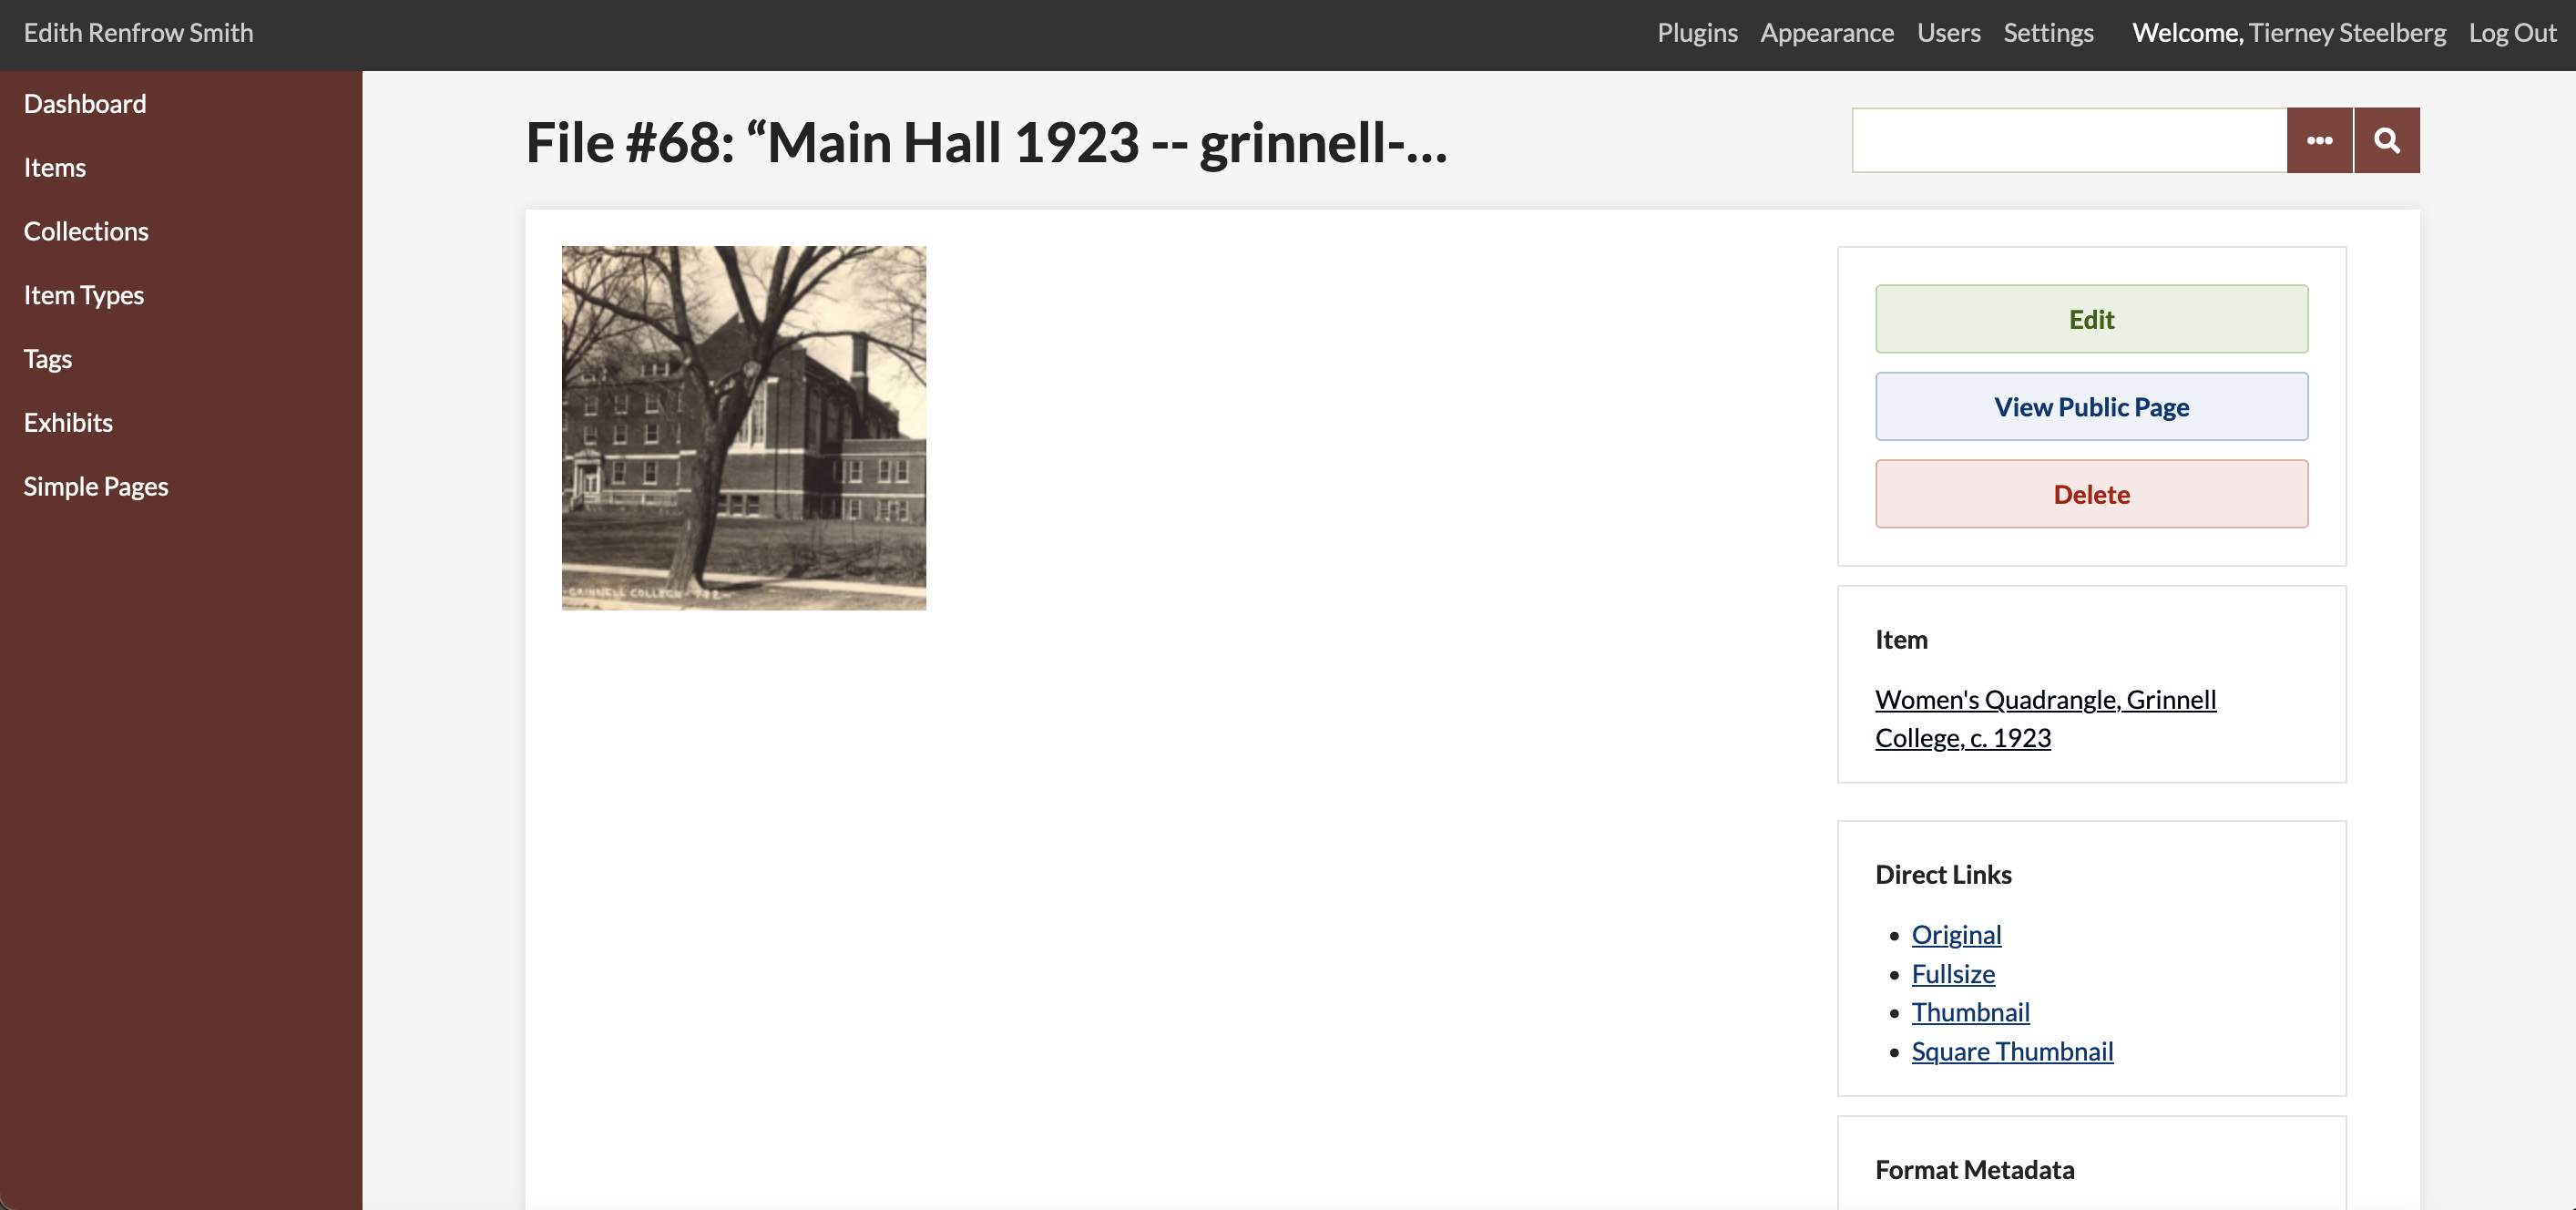
On your newly created About page, pull in the image file of one of your items. You can find the image file IDs by clicking on the item name, and then clicking the file thumbnail: the file ID is at the top, next to the file name.

Adjusting Site Settings
There are many settings that you can adjust within your Omeka Site. Please note that the grey Site Settings bar across the top of the site back-end is only available to site administrators (Super Admins): other user roles will not even see it, and will not have the ability to edit these site settings or add other users.
General Site Settings
From the Settings menu in the top admin navigation bar, you can adjust your general site settings. The tabs at the top list options, including General, Security, and Search.
You may need to just certain settings here to allow for certain functionality or enable features of different plugins. For example, if you create a reCAPTCHA account to reduce spam from plugins that allow interactive user inputs (comments, contact form), you would navigate to the Security Settings page to enter those details (in this case, site key and secret key).
Appearance
From the Appearance menu in the top admin navigation bar, you can adjust your theme settings (if applicable) by clicking the Configure Theme button.
Using the tabs at the top, you can navigate to the Appearance > Navigation page to set up your site navigation and add new elements to the site navigation by URL. You can also remove existing default elements, using the checkboxes. Using the Select a Homepage dropdown, you can choose a new homepage for your site if you want to change it from the default.

You can also navigate Appearance > Settings page to view and adjust some appearance settings.
Try it yourself!
Add your new About page and the exhibit that you created last week to your site navigation bar, using their URLs.
Adding Users
Omeka site administrators can add new users and adjust user permissions from the Users menu in the top admin navigation bar. The Add a User button lets you add new users by email (they will be prompted to set up a password using a link emailed to them), and the Edit button under users’ names lets you adjust a user’s account and permissions.
To learn more about roles and permissions within Omeka, check out the Users section of Omeka’s user manual: https://omeka.org/classic/docs/Admin/Users/

Resources (Again)
- See Omeka’s Accessibility Statement for information on both front and back end accessibility.
- Sites @ Grinnell support documentation specific to Omeka
- Omeka Classic User Manual