
This is a continuation of our deep dive into WordPress – see part one at WordPress for Vivellos.
Table of Contents
WordPress Plugins
A plugin is a little piece of software that adds additional functionality to a WordPress site.
The Sites @ Grinnell default WordPress installation comes with a variety of plugins installed, some required for campus use and others simply helpful and recommended.
Searching for and Activating Plugins
- Click Plugins in the left-hand navigation menu to see your plugins and install new ones.
- You can explore your preloaded plugins by scrolling through them.
- If you want to explore additional plugins, click the Add New button at the top of the page.
- Search for new plugins here. Make sure to vet them thoroughly: consider things like compatibility with your version of WordPress, reviews, number of downloads, how up-to-date it is, Google searching for information from other users…
- There are many plugins out there, for all manner of needs: you can search online for plugins to help accomplish things you can’t do with WordPress out of the box.
- Once you’ve found a plugin you want to try, click Install Now.
- You will see the plugin from your plugins list. To activate it, click Activate (under the title). Some plugins may have settings to manage available by clicking Settings under the plugin title.
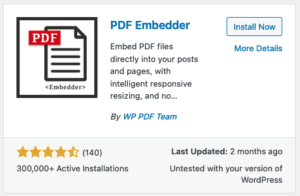
Try it out yourself: search for and install the PDF Embedder plugin, which makes it easy to embed a PDF on a WordPress page (instead of linking to it, which usually prompts it to download onto the user’s machine).
Deactivating a Plugin
To deactivate a plugin, simply click Plugins, scroll down to the plugin you want to deactivate, and click Deactivate. Activated plugins are highlighted in blue, plugins that are installed but not activated are highlighted in white. Once deactivated, you can use the Delete button under the inactive plugin’s title to remove it from your site completely.
Try it out yourself: look for the Classic Editor plugin in your list of installed plugins, and uninstall it (but do not delete it). This will cause your Pages and Posts to revert to the Gutenberg editor, which will allow you to practice using it for the purposes of this tutorial!
Gutenberg, aka the WordPress Block Editor
What Is Gutenberg?
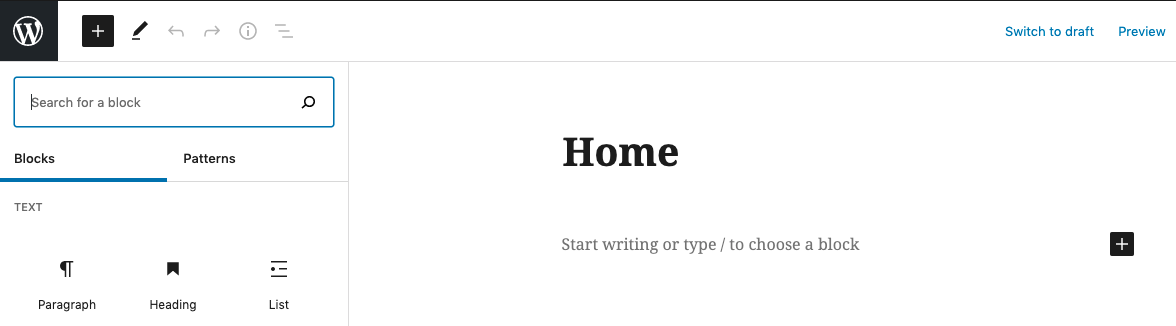
The Gutenberg editor is a block editor that allows you to more easily build pages made up of “blocks” of different content types (text, images and multimedia, tables, styling elements…). The styling and settings of each of these blocks can be managed individually from a right-hand side pane that appears when you are editing a block. A powerful feature of Gutenberg is the ability to create reusable blocks that you can reuse across pages on your site to save time.
WordPress plans to deprecate and discontinue support for the Classic Editor at the end of 2022, so we want you to practice using Gutenberg so you can get a feel for it, even though Classic is still currently the default for Sites @ Grinnell WordPress sites, due to the high number of people who use it.
Gutenberg How-To
Learn more about Gutenberg by diving into some of the following resources:
- LinkedIn Learning WordPress tutorial (focus on the Gutenberg section you may have skipped last week)
- WPBeginner: How to Use the New WordPress Block Editor
Try it yourself!
- Create a new page once you have deactivated the Classic Editor plugin.
- Start adding blocks of text content: headings, paragraphs…
- Play around with each block’s settings, and practice using the arrow buttons to move blocks above and below each other as needed to restructure your page.
- Add some multimedia blocks: images, image galleries, audio/video… Play around with their settings as well. Use the right-hand settings side pane to resize your images and add alt text.
- Use your new PDF embedded plugin to embed a PDF (of anything you would like) onto your page.
- Explore and add other types of blocks as well: try out common layout elements like columns or separators, add content like quotes/pullquotes, buttons, and more.
- When you’re ready, publish your page to save it!
- Don’t forget to run an accessibility check on your page (using the WAVE Web Accessibility Evaluation Tool) once it has been published.
WordPress Administrative Functions
Adding Users & User Roles
You can add users from the Users tab in the left-hand navigation menu. Simply click the Add New button at the top to add additional users: give them a username, input their email address, and select a user role with the permissions you need. Keep the box to send them an email notification checked: this will give them a heads-up about the creation of their account, and allow them to set their own password.
Users log in at the site level, so it is possible to add users to Sites @ Grinnell websites even if they do not have active Grinnell College accounts (as would be the case for alums, community partners, etc.).
Try it yourself (optional): if you would like to play around with this, try adding yourself as a user to your WordPress site using another email address. Select a different role and look at how a change in roles impacts how you can interact with the site. Then delete your second user account when you are done.
Site Export/Import
It is possible to export WordPress websites as a file, and import them so that you can recreate the website at another domain or subdomain.
To export a WordPress website:
- Hover over Tools in the left-hand menu and select Export.
- Choose what to export. Depending on what you need, you can choose all content or just a subset of content.
- Click the Download Export File button. Your website content will be downloaded to your machine as an XML file.
FYI: this process will only export site content, not site styling. Theme Customizer settings can be exported separately from the Theme Customizer page (Appearance > Customize).
To import a WordPress website’s contents onto another WordPress website:
- Enter the new WordPress website.
- Hover over Tools in the left-hand menu and select Import.
- Scroll down to the bottom to the box that says WordPress and click Run Importer.
- Browse your files and select the WordPress export file (.xml).
- Click the Upload file and import button. Your pre-existing content will be added to your new site.
- If the site is not empty, content will be added to it, and existing content should not be overwritten.
FYI: you can import content from sites other than WordPress onto a WordPress website from the Import page.
Try it yourself: create a new subdomain for yourself from within cPanel (following the same process as when you created your first WordPress site, outlined on the Setting Up Subdomains instructions) and install WordPress on it (following the WordPress installation instructions). Export your existing WordPress site’s content, then import onto your new WordPress site at your new subdomain.
Please note that when moving content within your domain, it is usually more efficient to use the site “clone” feature available through cPanel – this is just to give you a taste of how site export/import works when done manually!